DIY Roof Inspection: Spotting Common Issues Before They Become Major Problems


Introduction to DIY Roof Inspection
Maintaining the health of your roof is crucial in protecting your home from weather-related damage. Conducting regular DIY roof inspections can help you identify potential issues before they escalate into costly repairs. While professional inspections are valuable, knowing how to perform a basic check yourself is an excellent way to stay ahead of any problems.

Tools You'll Need
Before starting your inspection, gather the necessary tools to ensure a thorough examination. You will need a sturdy ladder, binoculars, a flashlight, gloves, and a notepad. These will help you safely inspect various components of your roof and document any findings.
Safety First
Safety should be your top priority during a roof inspection. Always ensure that your ladder is stable, and if possible, have someone hold it for you. Avoid climbing onto the roof itself unless absolutely necessary and you are confident in your ability to do so safely.

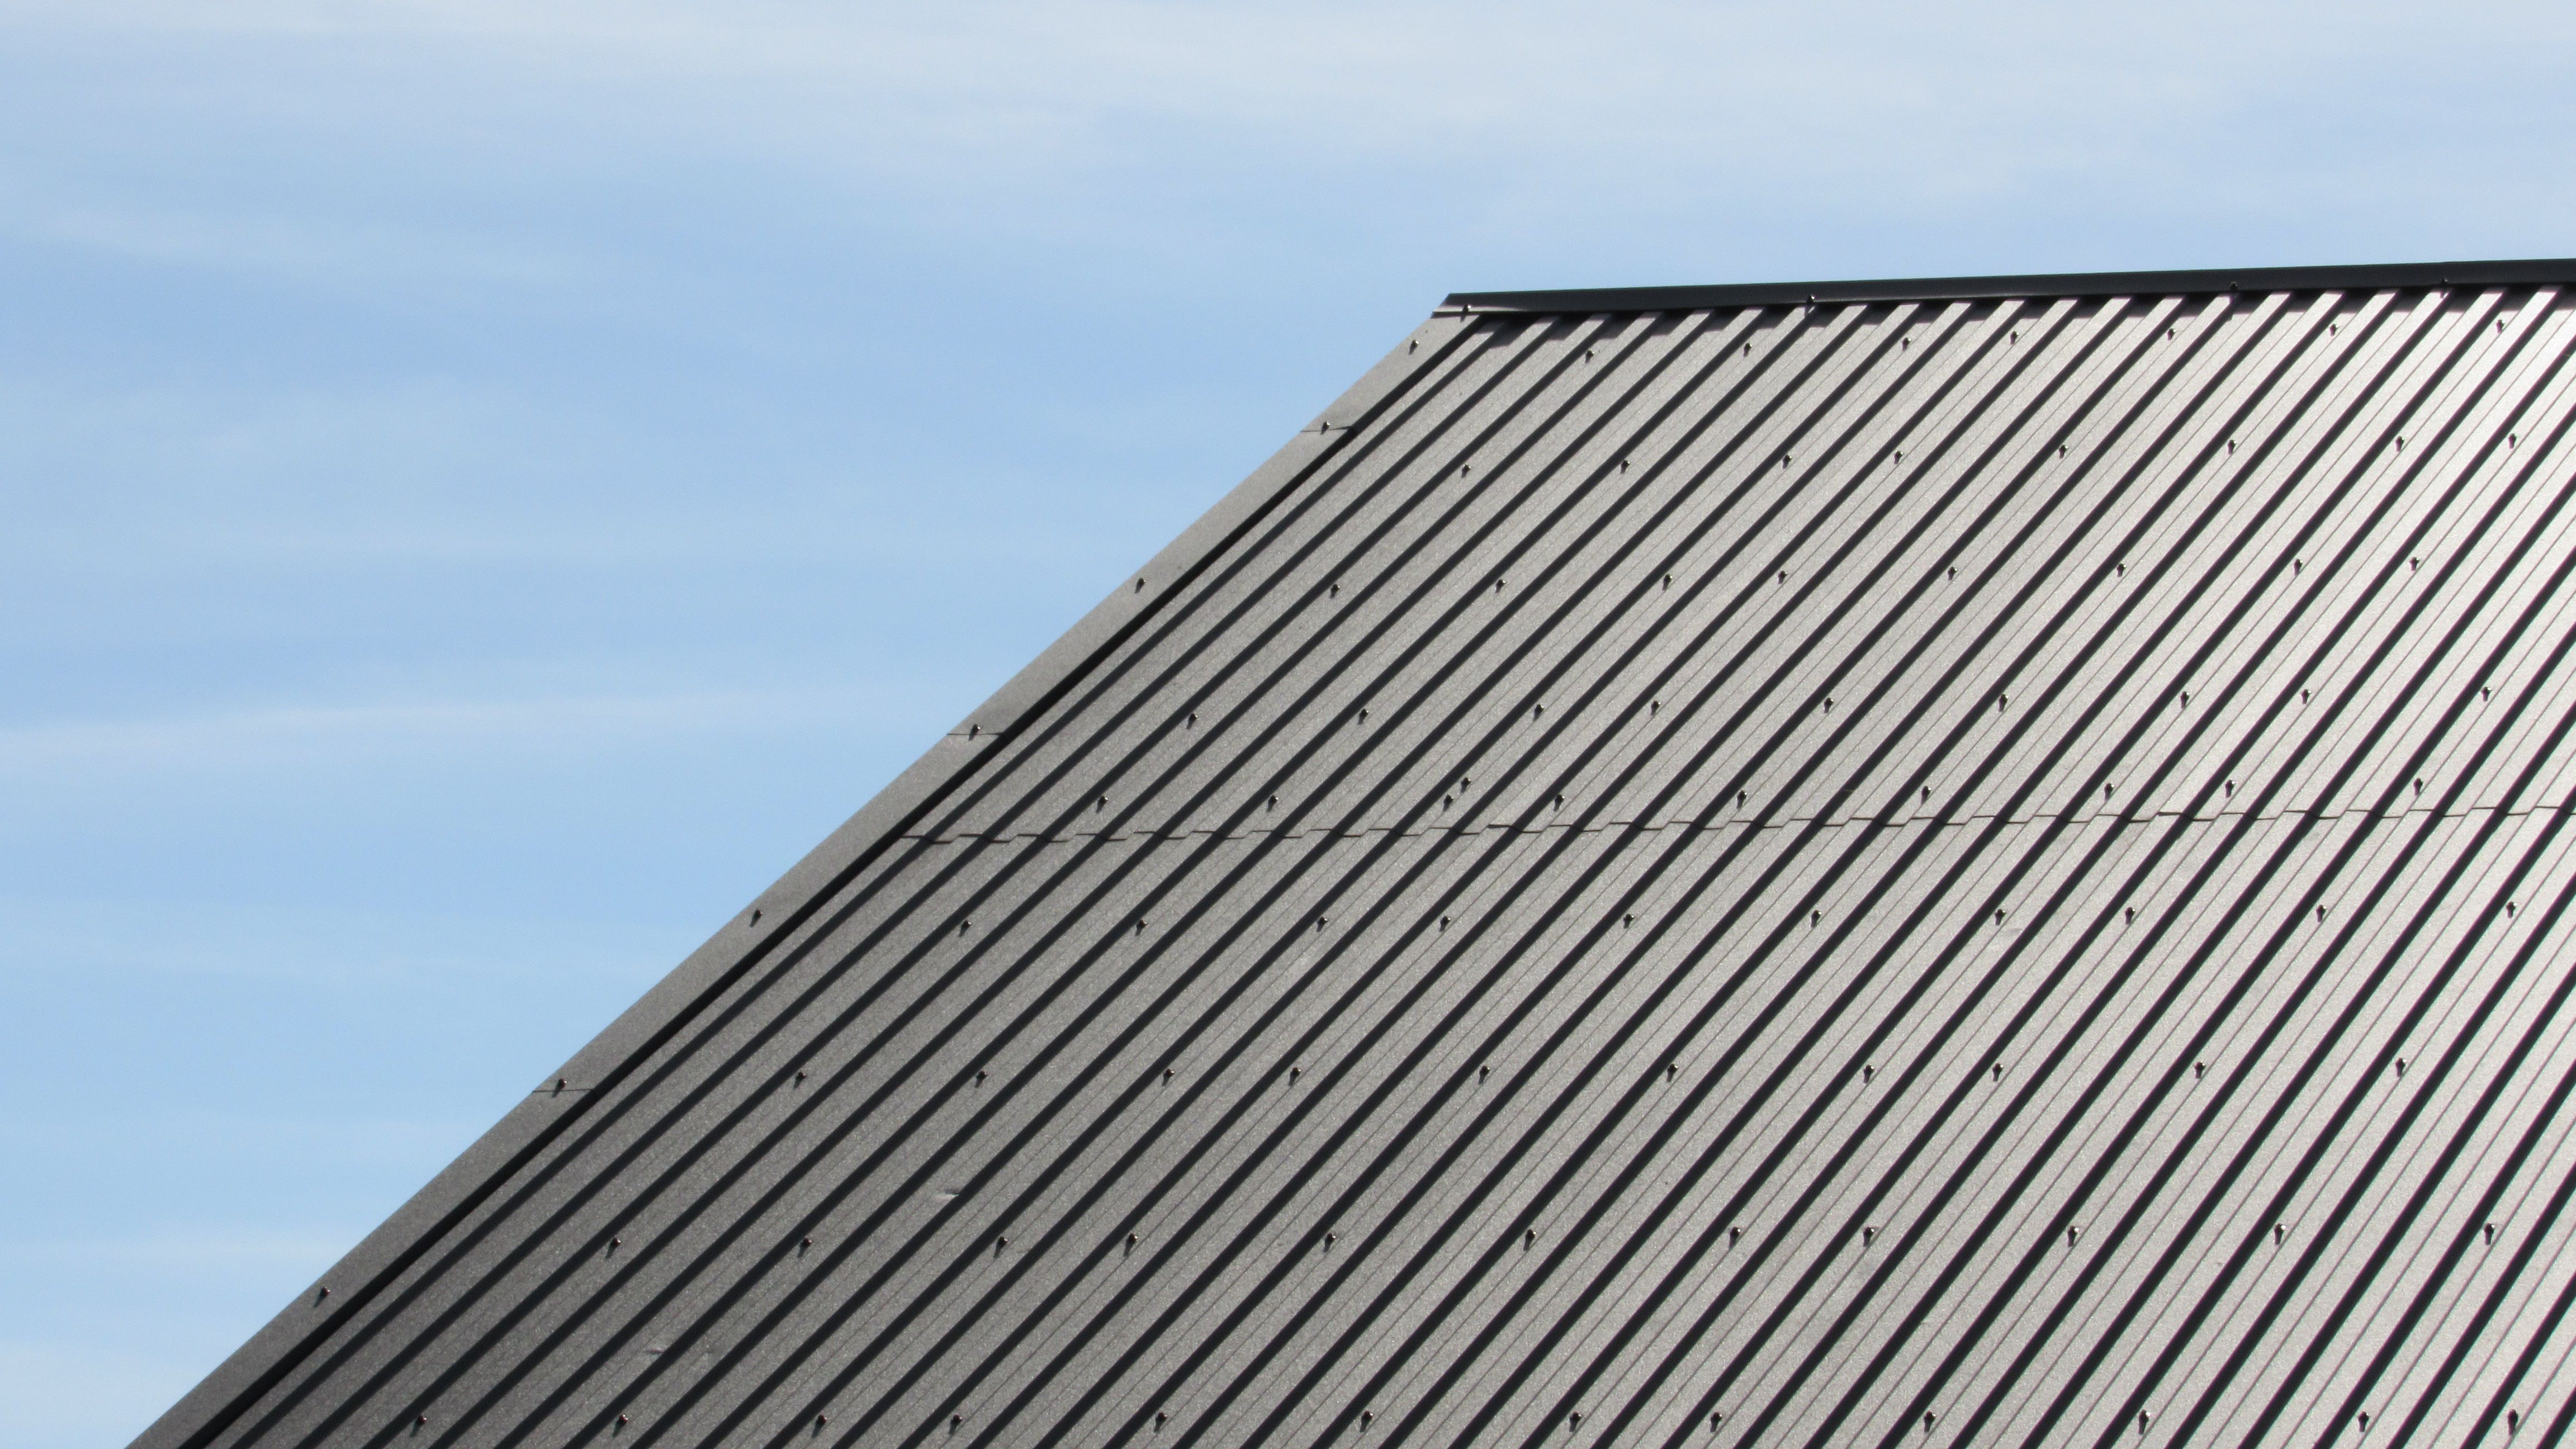
Exterior Roof Inspection
The first step in your DIY inspection is to examine the exterior of your roof. Look for missing or damaged shingles, which can lead to leaks. Pay close attention to any sagging areas or signs of water pooling, as these can indicate structural issues.
Inspect Flashing and Seals
Check the flashing around chimneys, vents, and skylights. Flashing is designed to prevent water from seeping into your home at these junctions. Look for signs of rust or damage and ensure that the seals are intact. Damaged flashing can be a major source of leaks.
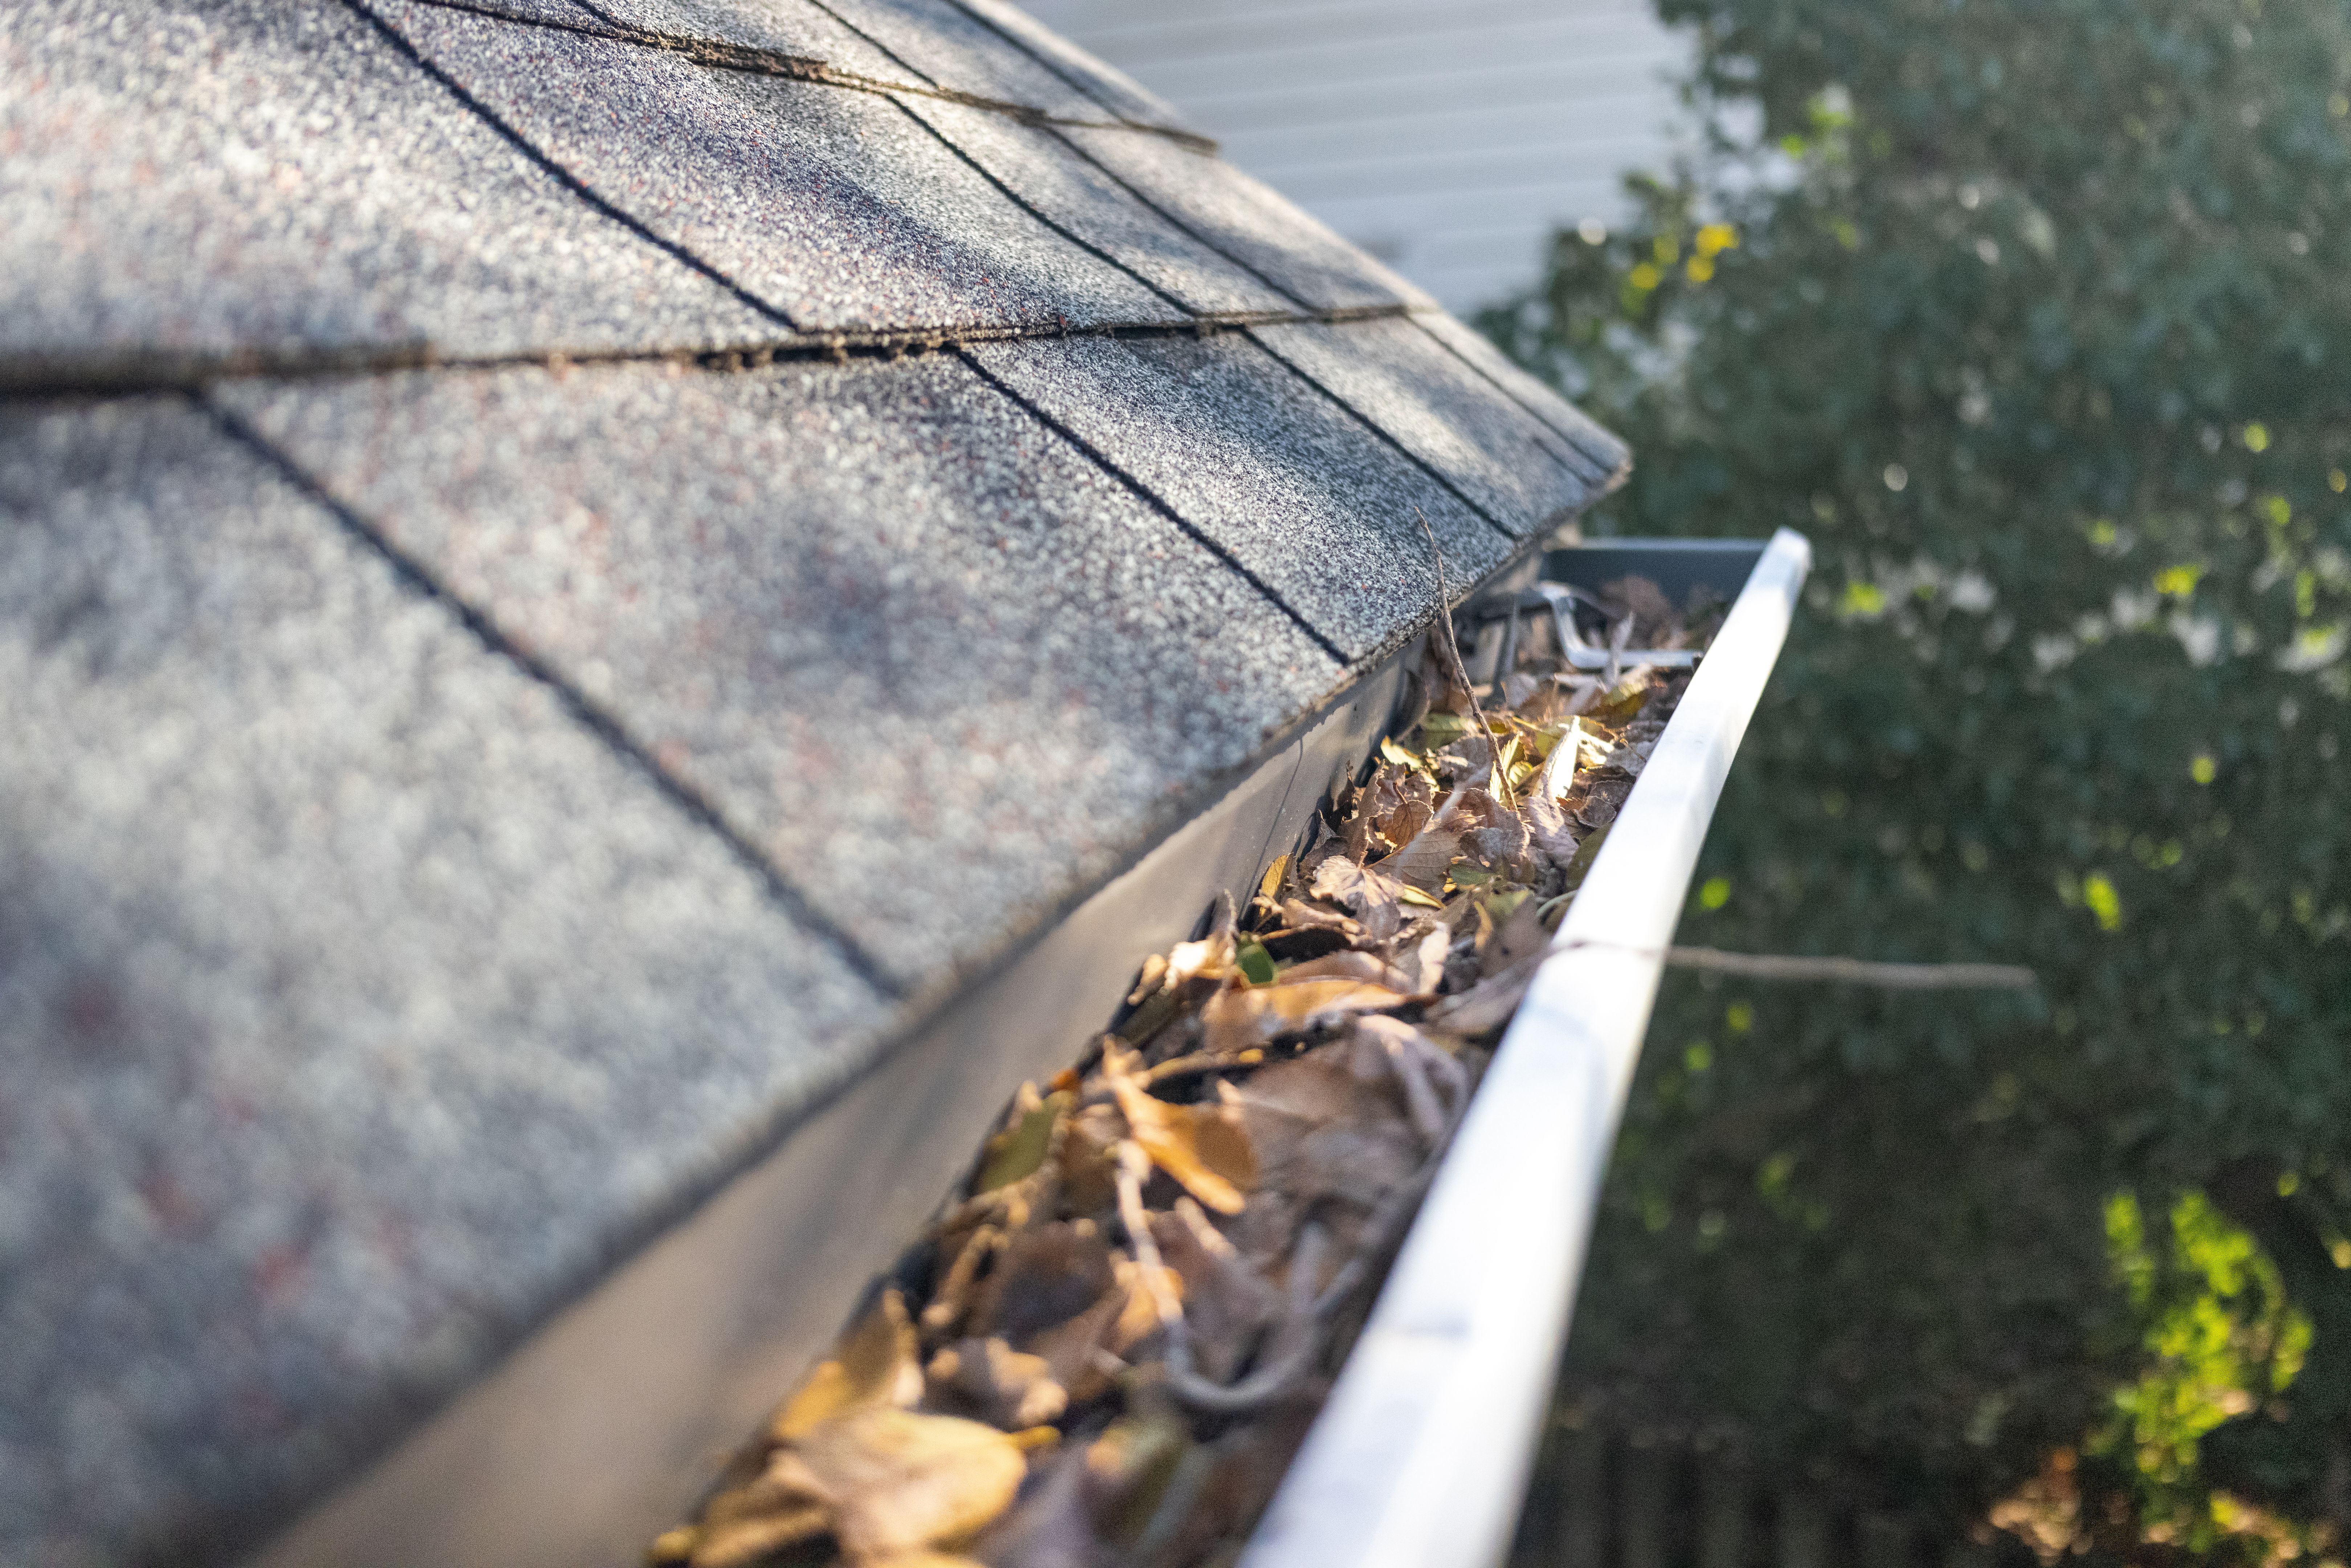
Gutters and Downspouts
While inspecting your roof, take time to examine the gutters and downspouts. These play a crucial role in directing water away from your home. Ensure they are clear of debris, as clogged gutters can cause water to back up onto the roof, leading to damage.
Check for Proper Drainage
After clearing the gutters, run water through them to check for proper drainage. The water should flow freely through the downspouts. If you notice any leaks or overflows, it may be time to repair or replace certain sections.
Interior Roof Inspection
Once the exterior inspection is complete, move inside to inspect your attic or upper floors. Look for signs of water damage such as stains on the ceiling or walls. This can indicate a leak that needs immediate attention.
Examine Insulation and Ventilation
Proper insulation and ventilation are essential in maintaining roof health. Check for any signs of mold or mildew, which can suggest poor ventilation or leaks. Additionally, ensure that insulation is in good condition to prevent heat loss and moisture buildup.
Conclusion
Performing a DIY roof inspection can help you catch minor issues before they become major problems. By regularly checking both the exterior and interior aspects of your roof, you can maintain its integrity and avoid costly repairs. Remember, if you identify significant damage or are unsure about any findings, it's best to consult with a professional roofer for further evaluation.